
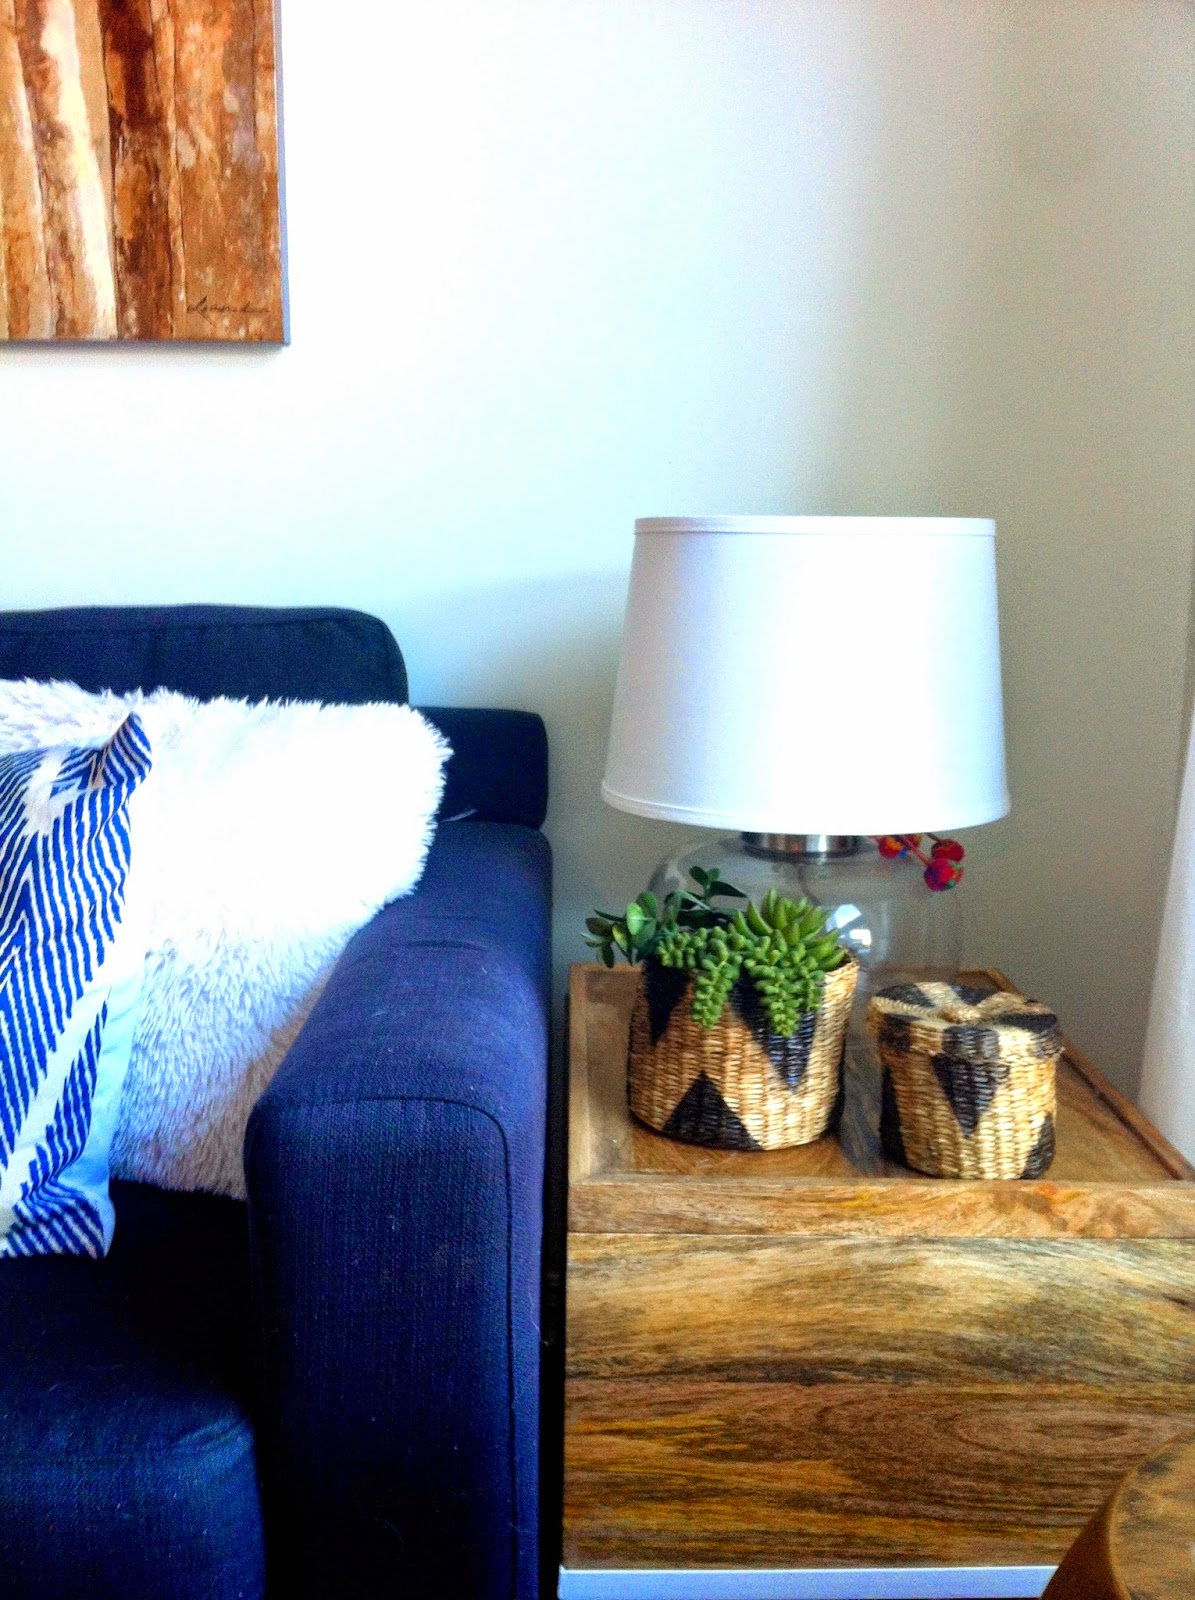
This project is so quick and easy, anyone can do it. I bought these tiny little baskets a while ago from JYSK. They where super cheap. About three dollars for the two of them, lids included. I figured I would start on something small and test it out before I ruin something more expensive. My first attempt here was simple and quick, just testing it out, but it worked out perfectly.

I used this spray paint I already had in our garage which was a bronzed colour. You can use anything you fancy really, but I would recommend using a spray paint so you get a sharper line when spraying since the painters tape does not stick flush to the basket. The painters tape was free, a promo product someone left on our front door. So, this project cost me a total of three dollars.....not bad.


You can tape these any way you would like, any pattern you fancy. I kept mine simple, less room for mistakes. Keep in mind that if you would like to see more of the basket you will want to tape off more of the basket to prevent the paint from getting to it.
Next spray your basket, let dry and the remove the tape! Your done!


Add some greenery or put it on a shelf for decorative storage! Wasn't that easy?
No comments:
Post a Comment